
Welcome to the Crosley Record Player Instruction Manual! This guide is designed to help you set up‚ operate‚ and maintain your record player with ease. Follow along for a comprehensive and easy-to-follow walkthrough to ensure you get the most out of your Crosley record player experience.
Unboxing Your Crosley Record Player
Excited to start your vinyl journey? Carefully open the box and inspect your Crosley record player. Ensure all components are included and undamaged before proceeding to setup.
2.1 What’s Included in the Box?

Your Crosley record player box should contain the following items: the record player unit‚ a power cord‚ a replaceable needle‚ and a user manual. Some models may also include a dust cover‚ a RCA audio cable‚ or a 45 RPM adapter. Always check the box carefully to ensure all components are present and undamaged. If any items are missing or damaged‚ contact customer support immediately. Take a moment to familiarize yourself with each part before proceeding to the setup process. This ensures a smooth and enjoyable experience with your new record player.
2.2 Initial Inspection and Inventory
Before setting up your Crosley record player‚ perform a thorough inspection to ensure all components are in good condition. Start by examining the record player for any visible damage‚ such as scratches or dents. Check the power cord for frays or cuts‚ and verify that the needle is securely in place. Inspect the platter and tonearm for alignment and proper movement. Open the box carefully to avoid damaging any parts. Make a list of the included items and cross-reference it with the packaging list provided. If any components are missing or damaged‚ contact customer support immediately. This step ensures that your record player is ready for setup and operation. A proper inspection now can prevent issues later and ensure optimal performance.
Setting Up Your Crosley Record Player
Setting up your Crosley record player involves plugging it in‚ choosing the right needle‚ and placing the record. Follow these steps to ensure proper setup for optimal performance.
3.1 Plugging In and Powering Up
Properly plugging in and powering up your Crosley record player is essential for safe and optimal operation. Locate the power cord attached to your record player and insert it into a nearby electrical outlet. Ensure the outlet is not overloaded and is easily accessible. Once plugged in‚ gently press the power button to turn on the device. You should hear a gentle hum or see the motor start to spin. If your model has a power switch‚ flip it to the “on” position. Allow the player to warm up for a few seconds before placing a record. Always use the correct voltage as specified in the manual to avoid damage. If you notice any flickering lights or unusual noises‚ unplug the player and consult the troubleshooting section.
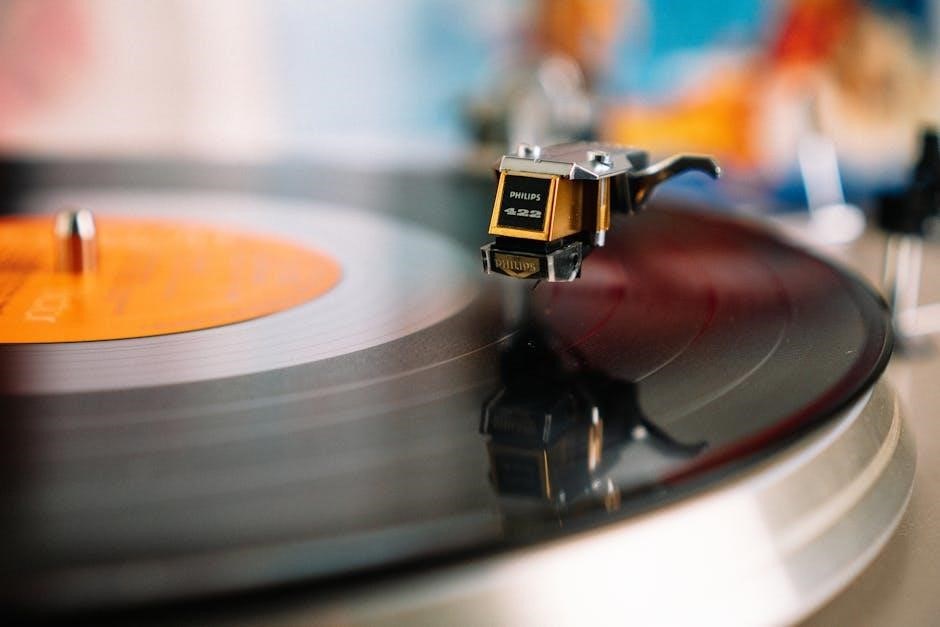
3.2 Choosing the Right Needle
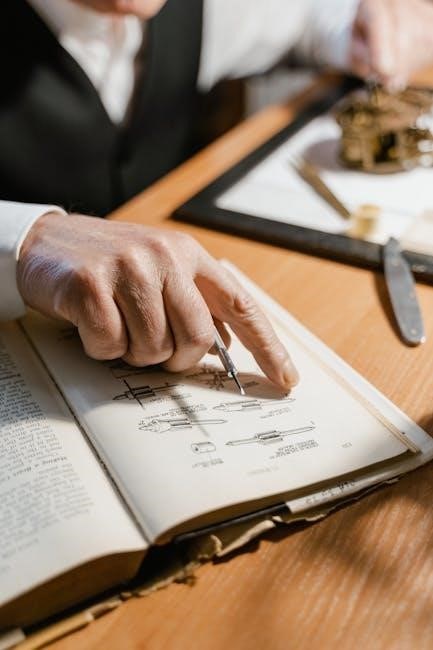
Choosing the right needle for your Crosley record player is crucial for optimal sound quality and to prevent damage to your records. The needle‚ or stylus‚ is designed to track the grooves on your records accurately. Most Crosley models come with a universal needle suitable for 33 and 45 RPM records. However‚ for 78 RPM records‚ you may need a specialized stylus. Always refer to your manual to confirm the correct needle type for your specific model. To replace the needle‚ gently lift the cartridge and swap it with the appropriate stylus. Handle the needle carefully to avoid bending or damaging the tip. If you’re unsure about the correct needle type‚ consult the troubleshooting section or contact customer support for assistance. Proper needle selection ensures clear playback and extends the life of both your records and the player.
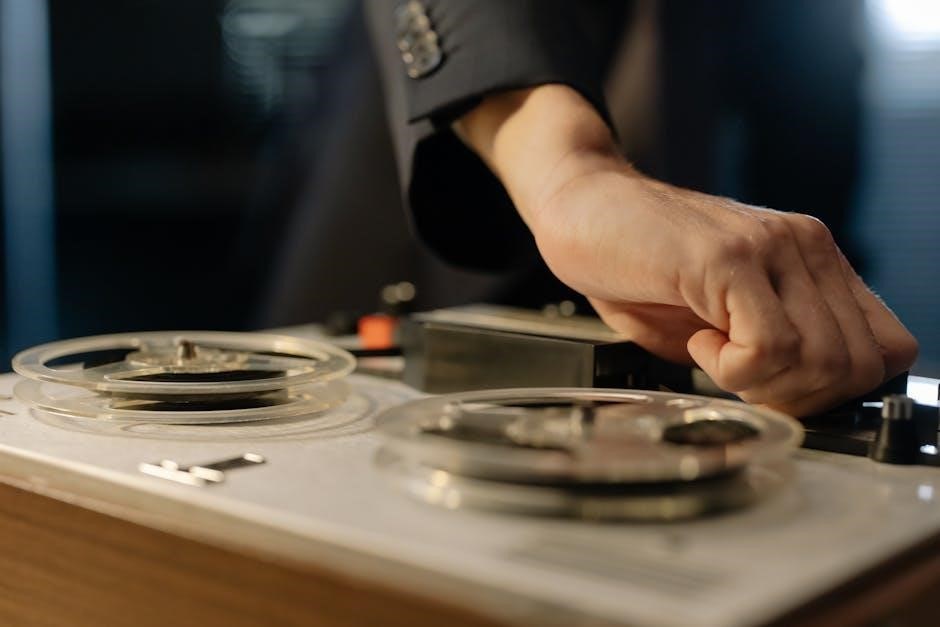
3.3 Placing the Record
Placing the record on your Crosley record player requires care to ensure proper playback and to avoid damage. Start by gently handling the record by the edges to prevent oils from your skin damaging the surface. Locate the spindle in the center of the turntable and align the record’s center hole with it. Carefully lower the record onto the spindle‚ ensuring it sits evenly. If the record is slightly warped‚ you can flatten it by applying gentle pressure from the center outward. Once the record is in place‚ make sure it is centered to prevent slipping during playback. Close the dust cover to protect the record from debris. Finally‚ ensure the player is set to the correct RPM (33‚ 45‚ or 78) before starting playback. Properly placing the record ensures clear sound and extends the life of your vinyl collection.
Operating Your Crosley Record Player
Learn how to play records‚ adjust volume‚ and switch between RPM settings. This section guides you through the essential steps to enjoy your vinyl collection with ease and precision.
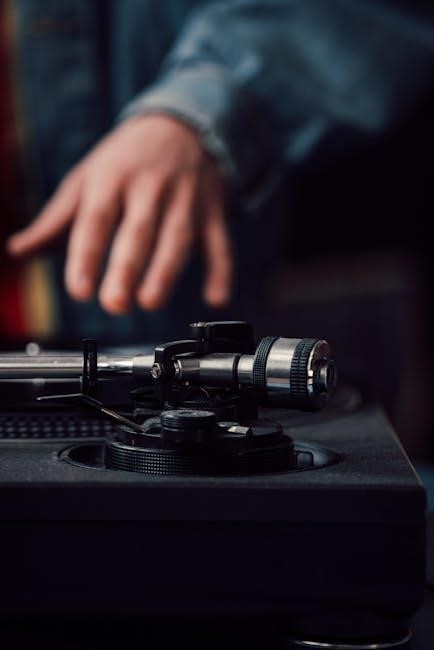
4.1 Step-by-Step Guide to Playing Records
Ensure the record player is powered on and set to the correct RPM (33‚ 45‚ or 78) based on your record type.
Gently place the record on the platter‚ aligning the spindle hole with the player’s spindle.
Carefully lift the tonearm and place the needle at the edge of the record.
Start playback by turning the record player on or moving the tonearm manually.
Adjust the volume using the control knob to your desired level.
Once the record finishes‚ lift the tonearm and return it to its rest position.
Turn off the player and store the record in its sleeve to prevent damage.
By following these steps‚ you can enjoy your vinyl collection with optimal sound quality and proper care for your Crosley record player.
4.2 Adjusting Volume and Tone
Adjusting the volume and tone on your Crosley record player ensures an optimal listening experience. To adjust the volume‚ locate the volume control knob on the front panel and turn it clockwise to increase the volume or counterclockwise to decrease it. For tone adjustments‚ use the tone control knob‚ typically labeled as “Tone” or “Bass/Treble.” Turning the knob clockwise enhances treble‚ while counterclockwise boosts bass. Experiment with these settings to achieve your preferred sound balance.
Tip: Start with the volume at a low setting and gradually increase it to your comfort level. Similarly‚ adjust the tone to suit the genre of music you’re playing. Avoid setting the volume to maximum‚ as it may cause distortion. Properly balancing volume and tone ensures clear and enjoyable playback of your records.
4.3 Switching Between 33‚ 45‚ and 78 RPM
Switching between 33‚ 45‚ and 78 RPM on your Crosley record player is essential for proper playback of different record sizes and speeds. Locate the RPM selector‚ usually found on the top or side of the player. Move the switch to the desired speed: 33 RPM for LPs‚ 45 RPM for singles‚ and 78 RPM for vintage records. Ensure the record is placed on the turntable and the correct needle is in use. Once set‚ start playback by lifting the tonearm and gently placing it on the record’s edge.
Tip: Always check the record label or sleeve for the recommended RPM to ensure accurate playback. Adjusting the RPM correctly prevents distortion and ensures your records sound their best. Proper speed selection enhances your listening experience and preserves your vinyl collection.
Maintenance and Care
Regular maintenance ensures your Crosley record player performs optimally. Clean the turntable‚ tonearm‚ and needle frequently. Store records upright in sleeves to prevent warping and scratches. Dust the player with a soft cloth to maintain its appearance and functionality. Proper care extends the lifespan of your record player and preserves sound quality. Always handle records by the edges to avoid fingerprints and damage. Keep the player away from direct sunlight and moisture to prevent electrical issues. By following these simple steps‚ you can enjoy your Crosley record player for years to come. Regular upkeep is key to maintaining its performance and longevity.
5.1 Cleaning the Record Player
Cleaning your Crosley record player is essential for maintaining sound quality and longevity. Start by turning off and unplugging the device. Use a soft‚ dry cloth to wipe down the exterior‚ paying attention to buttons and knobs. For the turntable‚ gently remove dust and debris with a carbon fiber brush or a microfiber cloth. Avoid harsh chemicals or excessive moisture‚ as they can damage the components. Clean the tonearm and needle regularly to prevent dust buildup‚ which can affect playback. Use a specialized record needle cleaning brush or a cotton swab lightly dampened with distilled water. Never touch the needle with your fingers‚ as oils from your skin can cause damage. For the motor‚ use compressed air to remove dust‚ but avoid spraying directly into the vents. Regular cleaning ensures optimal performance and prevents wear and tear; Always clean gently to avoid scratching or damaging sensitive parts.
5.2 Storing Records Properly
Properly storing your records is crucial to preserving their quality and longevity. Always store records in their original sleeves or upgrade to acid-free‚ archival-quality sleeves to protect against dust and scratches. Place records upright in a sturdy record crate or box‚ avoiding stacking them horizontally‚ as this can cause warping. Store your collection in a cool‚ dry environment‚ away from direct sunlight and extreme temperatures. Avoid basements or attics prone to moisture or humidity. Handle records by the edges to prevent oils from your fingers from marking the surface. Never stack records on top of each other‚ as this can cause pressure damage. For long-term storage‚ consider organizing your records alphabetically or by genre for easy access. Regularly inspect your records for dust or debris and clean them before storing to prevent buildup. By following these steps‚ you can ensure your vinyl collection remains in pristine condition for years to come.
Troubleshooting Common Issues
Encounter issues with your Crosley record player? This section provides solutions for common problems‚ ensuring smooth operation and optimal performance of your device. Address sound issues‚ power problems‚ and more with ease.
6.1 Diagnosing and Resolving Sound Problems
Experiencing sound issues with your Crosley record player? Start by checking the needle for dirt or damage. Clean the needle gently with a soft brush or replace it if worn. Ensure the record is free from dust and fingerprints by using a microfiber cloth. If distortion occurs‚ verify that the record is placed correctly and the tonearm is balanced. Check the volume settings and ensure the player is set to the correct RPM for your record. If no sound is present‚ confirm all connections are secure and the power is on. For crackling or skipping sounds‚ inspect the record for warping or scratches. Finally‚ ensure the cartridge is properly aligned and seated. By addressing these common issues‚ you can restore optimal sound quality to your Crosley record player.
6.2 What to Do If the Player Won’t Turn On
If your Crosley record player won’t turn on‚ start by ensuring it is properly plugged into a working electrical outlet. Check the power cord for any visible damage or kinks. Verify that the power button is functioning correctly and that the volume is not muted or set to zero. If using a battery-powered model‚ ensure the batteries are installed correctly and have sufficient charge. If the issue persists‚ unplug the player‚ wait a few minutes‚ and plug it back in to reset the system. If the player still doesn’t power on‚ inspect the internal components for loose connections or blown fuses‚ if applicable. Consult the user manual for specific troubleshooting steps for your model. If none of these solutions work‚ contact Crosley customer support for further assistance or potential repair options.
Congratulations! You’ve successfully navigated through the Crosley Record Player Instruction Manual. By following the steps outlined in this guide‚ you should now be fully equipped to set up‚ operate‚ and maintain your record player with confidence. Remember to always handle your records and player with care to ensure optimal performance and longevity. Regular maintenance‚ proper storage‚ and troubleshooting common issues will help you enjoy your vinyl collection for years to come. If you ever encounter a problem not covered here‚ refer to the troubleshooting section or contact Crosley support for assistance. Thank you for choosing Crosley‚ and happy listening!